EVERYTHING YOU NEED TO KNOW ABOUT COLOURED PENCILS
If you’re thinking of trying Coloured pencils to create your artwork then you’re in the right place! I’m here to give you the low down on a fantastic, and often overlooked, art medium that is favoured by an ever increasing number of professional artists, myself included. You may well associate them with childhood and colouring books but I’m going to tell you why you should be using them for your original artwork.
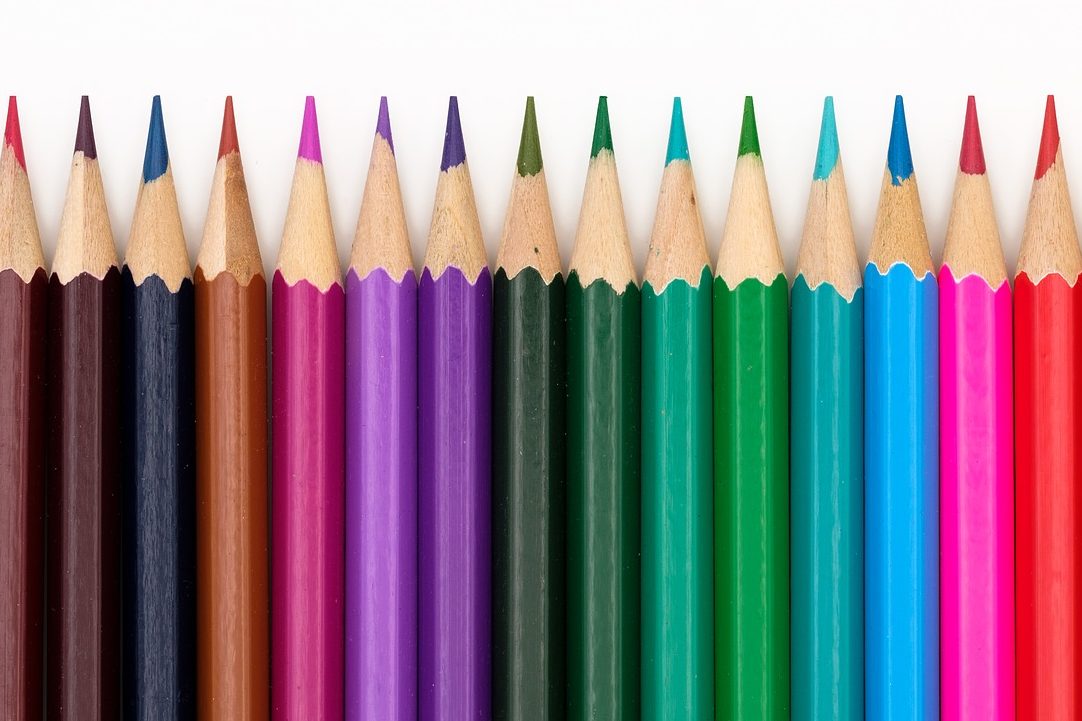
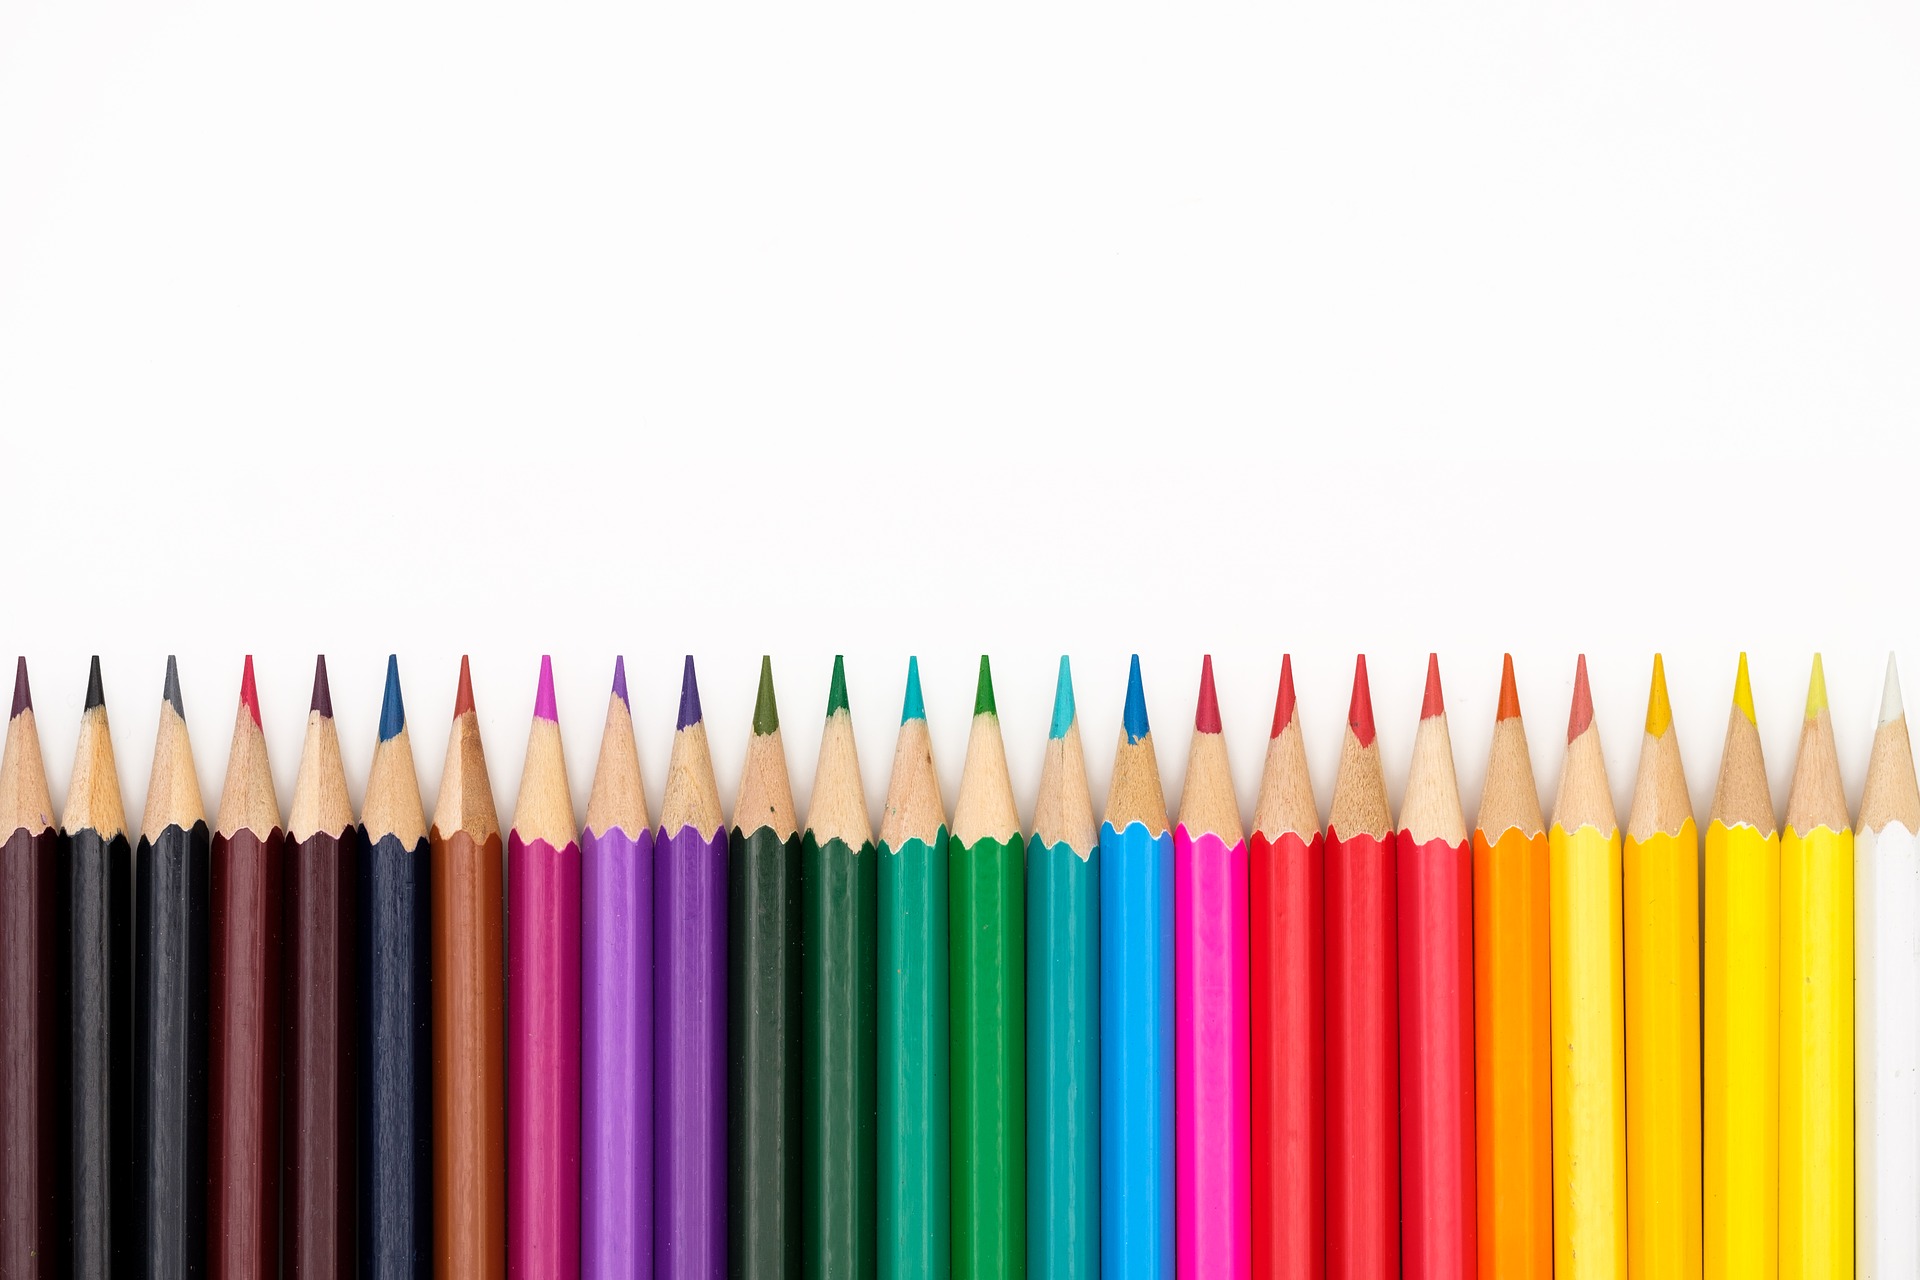
Artist-grade coloured pencils have been manufactured since the early 20th Century. Although they are, in appearance, similar to what you would recognise as colouring pencils there are some marked differences between the colouring pencils you would have used as a child and the artist-grade coloured pencils used for creating professional artwork. Although the pencil may look similar and it would be hard for a novice to know artist-grade from the norm, an artists coloured pencil will actually contain a high-quality pigment, good to excellent lightfastness and will be encased in a luxurious wood, usually cedar. All of these components separate a standard coloured pencil from a professional one.
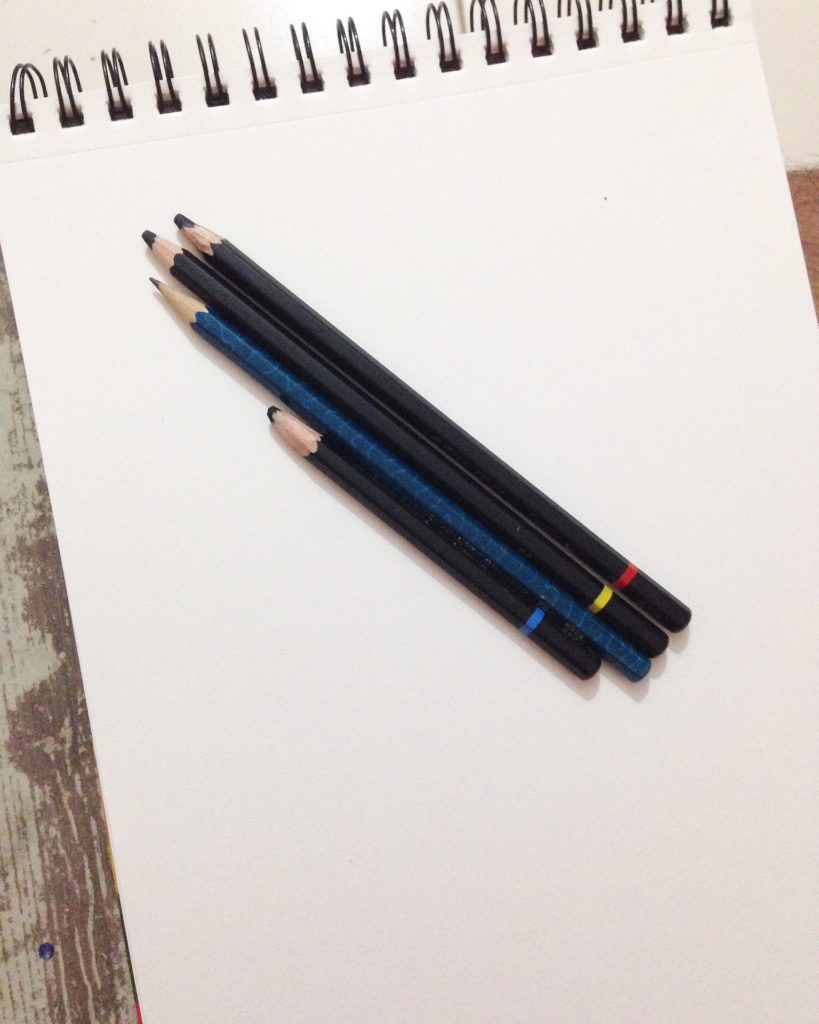
Artist-grade coloured pencils come in all different shapes, depending on the brand. They can be round, hexagonal or triangular. Normally, you wouldn’t consider or pay attention to the shape of a pencil, except for aesthetic reasons, but it can be an important factor when choosing a coloured pencil to create your art with. As coloured pencil is a slow medium and it can take many many hours of hard work to complete a piece, you need a pencil that is both comfortable to use and easy to grip. This is of course down to personal preference and, as many artists use a mixture of brands, it’s likely you will end up with all shapes of coloured pencil.
DIFFERENT TYPES OF COLOURED PENCILS
Binders are used in coloured pencils, along with the coloured pigment, to create the core of the pencil. This is commonly referred to as the lead of the pencil, however, it actually contains no lead whatsoever.
The type and ratio of the binder vary depending on the brand, quality and softness of the pencil. As a general rule, the better the quality of the pencil, the higher ratio of pigment there will be.
The core can be wax, oil or gum-arabic based. Gum-arabic based coloured pencils are more commonly known as water-soluable or watercolour pencils.
WAX-BASED
Wax-based coloured pencils contain a wax binder along with the pigment. These are the most common type of coloured pencils and are readily available in shops. If you used coloured pencils as a child or at school then they would have almost certainly been wax-based.
Artists that use a wax-based coloured pencil will typically use a soft core pencil. This is due to their high ratio of pigment. Wax-based pencils are generally easier to blend, especially for beginners, when compared to oil-based. They also blend well with solvents, colourless blenders and heat.
The downside of wax-based coloured pencils is that layering can eventually become difficult due to something called wax bloom. Wax bloom happens when natural oxidation of the wax-based material occurs and will leave a cloudy, white film over your artwork. This film creates a slippery texture and makes it incredibly difficult for further layers to adhere to the paper. Wax bloom can also occur with Oil-based coloured pencils but it takes a much longer time and after many many more layers. Due to this, you are much less likely to ever experience wax bloom when using oil-based coloured pencils. If you use wax-based pencils and do experience wax bloom, you can gently wipe off the film with a clean, dry cloth. This can cause smudging, so be aware and take things slowly. You can also use a fixative that you spray on your artwork and leave to dry, however, this comes at extra cost, time and can also change the appearance and vibrancy of the colours.
As the core is soft, wax-based coloured pencils are more prone to breakages both during sharpening, usage and within the casing as well.
OIL-BASED
Oil-based coloured pencils contain a vegetable based oil binder with the pigment. Oil-based coloured pencils can, and probably do, contain wax but it is at a much lower ratio than those classified as wax-based coloured pencils. Oil-based pencils have a noticeably harder core meaning they are less prone to breakages and are easier to maintain a sharp point. The downside to the harder core is that they can be harder to blend, particularly for beginners but with plenty of practice and patience, they do blend extremely well. As previously mentioned, the chances of creating a wax bloom is much lower, more layers are possible and, as they keep sharp points for longer, they are great for detail. Unfortunately, as wax-based pencils are more common, Oil-based pencils are harder to find in generic stationary shops so you will need to find an art shop or purchased them online.
LIGHTFASTNESS
When an artist is looking for professional grade coloured pencils, lightfastness is one of the first things we think about.
Lightfastness is a rating given to a pigment to give an indication as to how resistant it is to fading when exposed to light. The better the lightfastness rating, the longer the colours will stay true and vibrant over time.
Each brand has their own way of detailing their lightfastness ratings, and it can differ from colour to colour within the same brand, so it’s important to refer to the manufacturers website for clarity.
SHARPENING

There are many types of sharpeners available and, again, it’s down to personal preference. All artists favour one or two types of sharpener over the others.
Hand-held sharpeners allow for more control and the risk of core breakages is decreased as you are in control. They are generally inexpensive to purchase and are widely available.
Electric sharpeners are quicker to use but are generally more expensive to buy. As the sharpener is doing all of the work for you, you have no control and this increases the risk of breakages.
Knives are an old-school way of sharpening pencils and it can give you a long sharp point. A lot of artists favour this technique however, it can be dangerous and you are at high risk of causing an injury.
Sandpaper blocks are an inexpensive way to maintain a sharp point on your coloured pencil. You simply rotate your pencil over the surface and a sharp point is created, however, this can get quite dusty and messy.
When sharpening coloured pencils, in any sharpener, a build up of wax and oil can dull the blade. To negate this, make sure to sharpen a graphite pencil regularly.
BLENDING
It is possible to blend your coloured pencils using nothing but them alone. It takes many layers and patience but is entirely possible and will give your artwork a smooth finish. There are many other ways to blend your coloured pencils to remove strokes and visible lines where you have changed colours and, again, most artists will gain preference for one or the other.
Burnishing involves applying pressure to you coloured pencils to fill the tooth of the paper with pigment. You can burnish using a white coloured pencil, a pencil that is a similar in colour to the area you are burnishing or with a colourless blender. A colourless blender is a wax-based pencil that contains no pigment and is available in most art shops. Burnishing will give your artwork a shiny finish. Always leave burnishing to the final stage as you will damage the paper tooth and the shiny texture it creates will mean more layering is difficult.
Solvents disrupt the binding in coloured pencils, decreasing pencil strokes and giving a smoother transition between colours. As solvents are toxic and tend to have a strong odour, manufacturer recommendations must be followed closely. Always do a test on a scrap of paper, use a paintbrush to apply and remember that a little goes a long way! Applying too much solvent, or any liquid blender, will leave your artwork soggy and will likely distort or warp the paper.
Odourless mineral spirits are similar to solvents but lack harmful chemicals. Caution still needs to be taken when using them and, again, refer to the manufacturer’s instructions for usage. You apply using a paintbrush and, in the case of OMS, only a tiny amount is needed.
ERASING

Coloured pencils are pretty much impossible to fully erase, however, they can be lightened enough that any mistakes don’t cause any problems. The best way to erase coloured pencils, without needing to add lots of pressure and thus damaging the tooth of the paper, is by using a kneaded eraser. These are mailable erasers, usually made from putty, that you use to gently and slowly blot the colour away.
Electric erasers may seem like an obvious choice, and they are good for lifting heavy colour deposits quickly but they can be hard to control and will easily damage the paper.
When it comes to lifting the colour, slow and steady is the way to go.
PAPER
There is a huge selection of paper available and it can be overwhelming at times. It is really just a case of trial and error to find one that works best for you. You can ask for recommendations from other artists or you can order inexpensive sample packs.
For coloured pencils artwork, you need a paper that have some tooth to it. Tooth is simply another word for texture. The tooth helps the pigment to stick to the paper and saturate it, giving you a vibrant piece of artwork. The smoother the paper, the less tooth it has and the less amount of layers you will be able to apply.
Hot-pressed is a name you will see when it comes to paper. Hot-pressed is a smooth-ish paper, with plenty of tooth and is great for coloured pencils. Most coloured pencil artists use hot-pressed paper.
Cold-pressed is the opposite of hot-pressed and has lots and lots of tooth. As it has so much tooth, it will be harder to hide and will give your artwork a rough finish. It is more suited to painting, however, if you like a rough finish to your artwork then it is a great option.
SO, WHICH COLOURED PENCILS ARE THE BEST?
This is purely down to personal preference. Many professional artists use a mixture of both oil and wax-based to create their artwork.
I would recommend purchasing a couple of open stock coloured pencils from different brands and binder based and try them out for yourself. Good colours to buy open stock are black and white since you can blend to make a whole range of grey tones.
You need to be aware that professional-grade coloured pencils can be expensive – prices will range from £2-£3 upwards for a single pencil. If you are on a budget or new to coloured pencils then it’s a great idea to buy some student-grade coloured pencils to try them as a medium and to make sure you enjoy using them. You can always invest in more expensive brands once you are familiar with them as a medium and are sure they’re right for you.